
Discover the innovative 10ft expandable container house, a revolutionary modular living solution. This comprehensive guide covers the assembly process, key features, and benefits of this compact yet spacious tiny home, perfect for off-grid living, guest houses, or mobile offices. Learn step-by-step how to transform a shipping container into a fully functional dwelling with ease.
The world of modular housing has evolved dramatically, and the 10ft expandable container house stands at the forefront of this innovation. Combining durability, portability, and clever design, these compact dwellings offer a practical solution for anyone seeking affordable, sustainable living. In this guide, we’ll walk you through everything you need to know about assembling your own 10ft expandable container house—from preparation to final touches.
Why Choose a 10ft Expandable Container House?
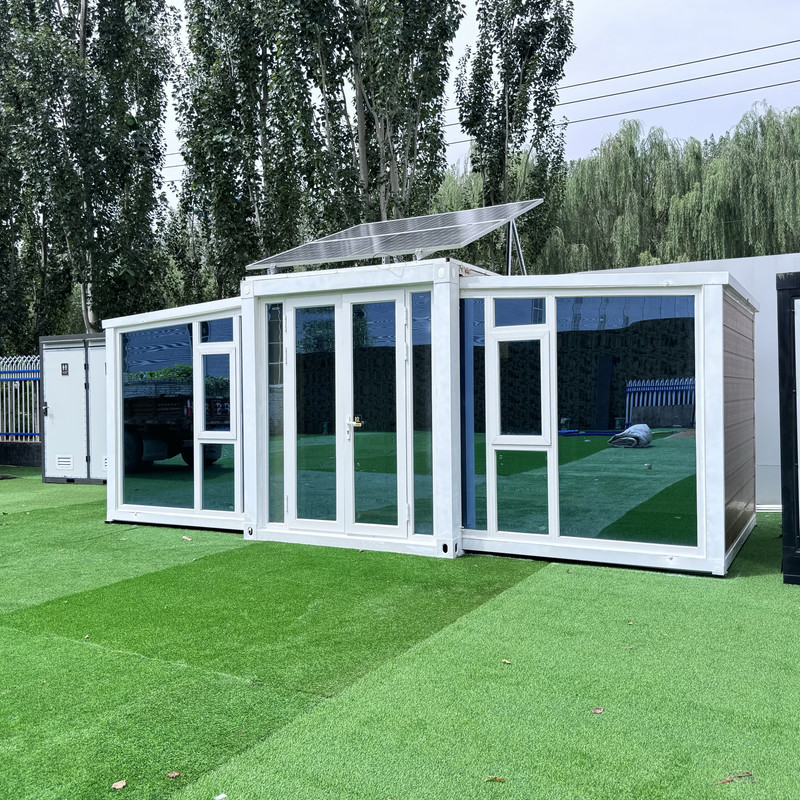
Before diving into assembly, let’s explore why this design is gaining popularity. Unlike traditional shipping containers, the expandable model features foldable sections that double the living space when deployed. Measuring just 10ft in length when closed, it expands to offer ample room for a kitchenette, sleeping area, and bathroom. Its compact footprint makes it ideal for urban plots, rural retreats, or even as a mobile office. Plus, the steel construction ensures weather resistance and longevity, while the modular design allows for easy transportation.
Key Features of the 10ft Expandable Model
This isn’t your average container house. Here’s what sets it apart:
- Space Efficiency: Expands from 10ft to 20ft, offering 160-200 sq ft of living space.
- Quick Assembly: Most units can be set up in under 4 hours with basic tools.
- Eco-Friendly: Made from recycled steel and designed for solar compatibility.
- Customizable: Options for windows, insulation, and interior layouts.
Step-by-Step Assembly Guide
Ready to transform your container? Follow these steps for a smooth assembly process:
1. Preparation and Site Setup
Start by preparing a level foundation. Concrete pads, gravel beds, or adjustable piers work well. Ensure the site has drainage and access to utilities if needed. Unpack the container house kit and verify all components—walls, roof panels, hinges, and hardware—are present. Safety first: Wear gloves, goggles, and sturdy boots during assembly.
2. Foundation and Anchoring
Position the closed container on your foundation. Use a level to check alignment, then anchor it to the ground using steel brackets or bolts. This step is crucial for stability, especially in windy areas. Secure the base frame to prevent shifting during expansion.
3. Expanding the Container
Here’s where the magic happens! Unlock the side panels using the provided keys or levers. Slowly pull the walls outward until they click into place. Most models use hydraulic or mechanical systems for smooth expansion. Ensure all locking pins are engaged to secure the expanded structure. This step typically takes 30-60 minutes.
4. Roof and Wall Installation
Attach the pre-fabricated roof panels to the expanded frame. Bolt them securely and seal seams with weatherproof tape. Install insulation in the walls and roof if not pre-installed—this is vital for temperature control. Next, mount the exterior wall panels, starting from the bottom up. Use self-tapping screws for a tight fit.
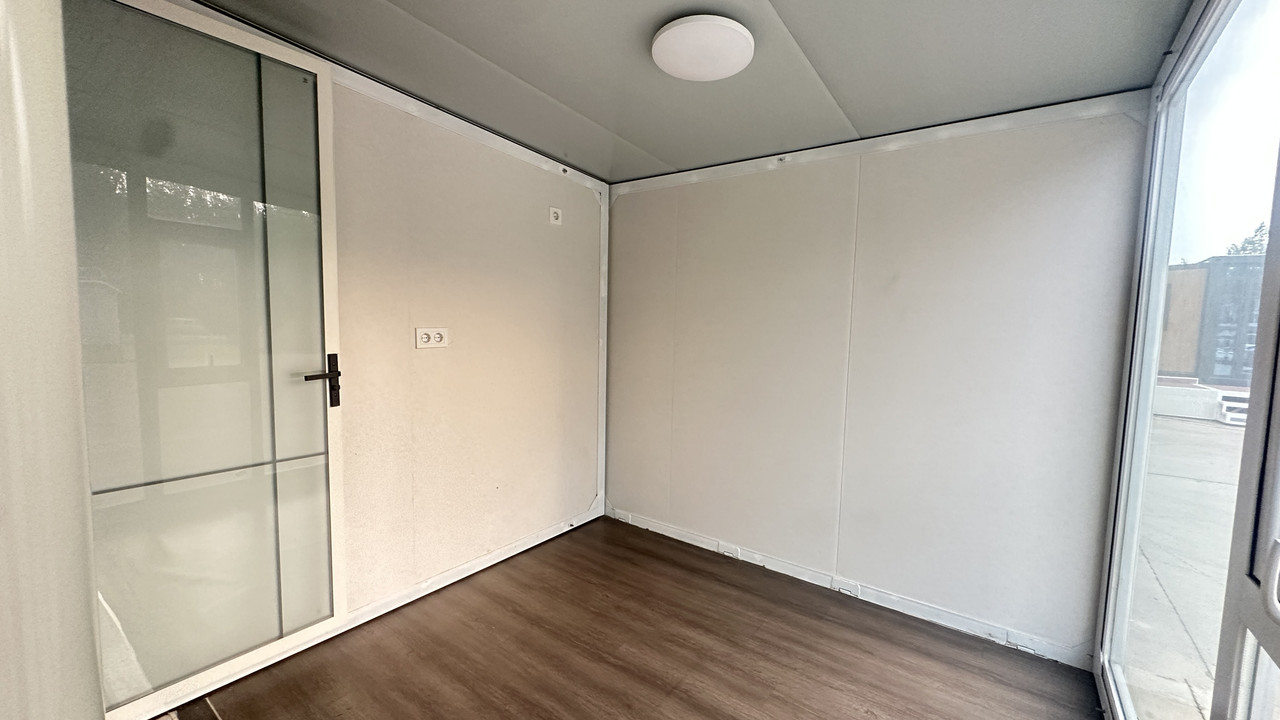
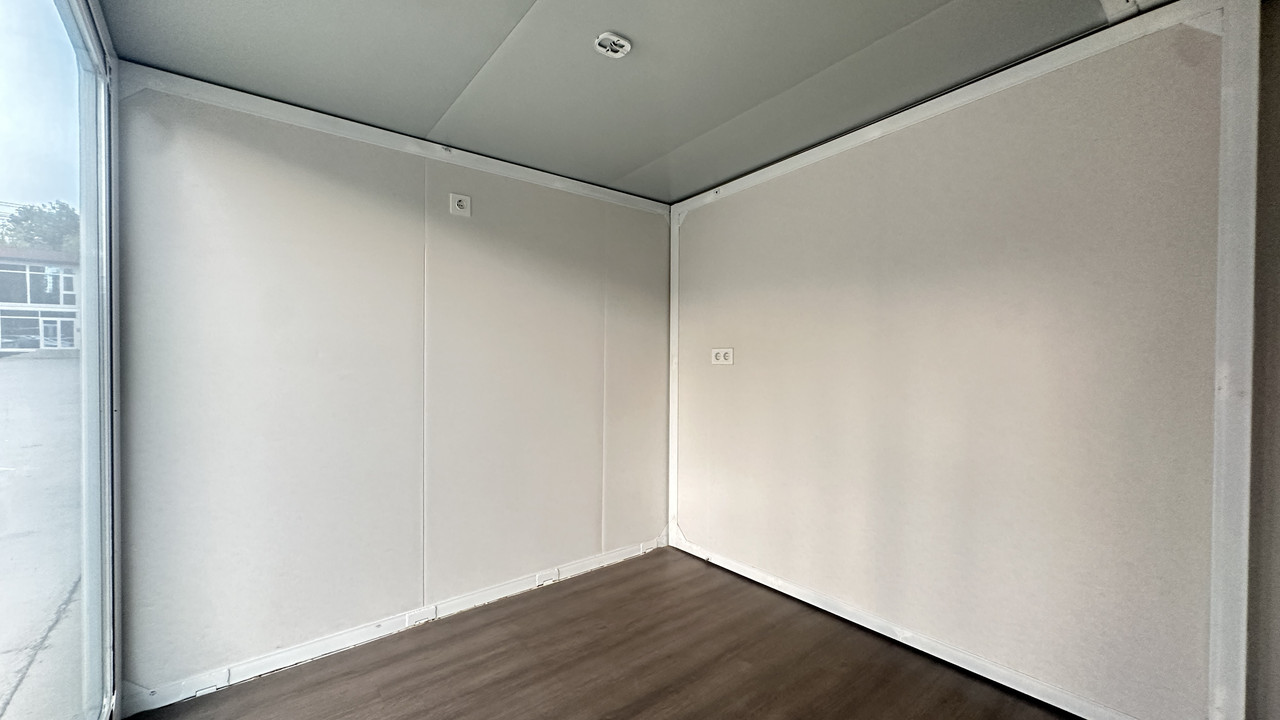
5. Interior Setup
With the shell complete, focus on the interior. Assemble the partition walls to define rooms. Install flooring (vinyl or laminate is popular), then add electrical wiring and plumbing if included. Many kits come with pre-cut openings for windows and doors—fit these now. Finally, attach interior wall panels and ceiling tiles.
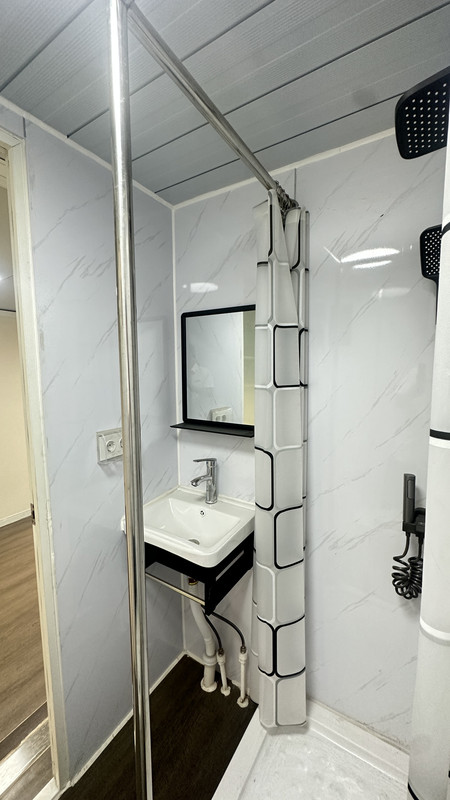
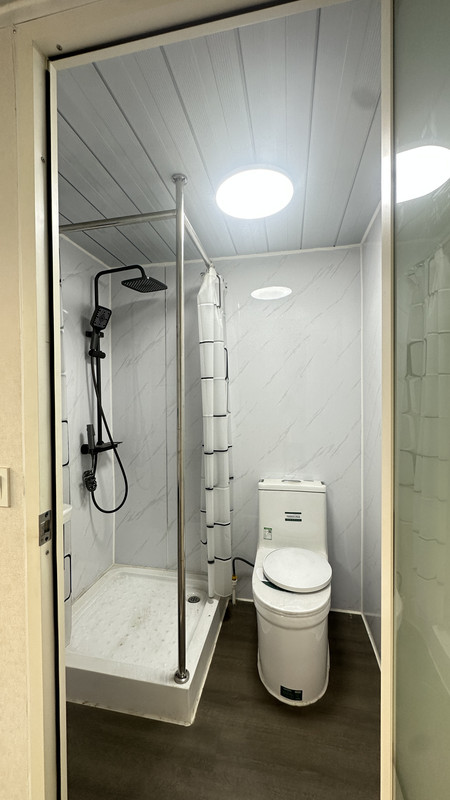
6. Final Touches
Finish by installing fixtures like sinks, toilets, and kitchen units. Paint or decorate the walls to your taste. Test all systems—electrical, plumbing, and ventilation. Add exterior elements like steps, railings, or a small deck. Don’t forget to caulk around windows and doors for energy efficiency.
Tips for a Flawless Assembly
- Work with a Partner: Some steps, like expanding walls, require two people.
- Follow the Manual: Each model has unique specs—don’t skip instructions.
- Weather Watch: Avoid assembly in rain or high winds.
- Tool Prep: Have wrenches, drills, levels, and sealants ready.
Conclusion
The 10ft expandable container house proves that big things come in small packages. Its straightforward assembly process, combined with modern amenities and eco-conscious design, makes it a standout choice for affordable, flexible living. Whether you’re a DIY enthusiast or hiring professionals, understanding the assembly steps ensures your tiny home journey starts on solid ground. Ready to embrace compact living? This expandable marvel might just be your perfect match.