
Discover the ultimate solution for building a durable, portable outdoor toilet with a 10ft expandable container house. This guide covers step-by-step installation, benefits, and design tips to create a hygienic, eco-friendly sanitation system for gardens, campsites, or remote properties—all within a compact, weather-resistant structure.
When it comes to building an outdoor toilet, durability and convenience are non-negotiable. Traditional options like wooden outhouses require constant maintenance and offer limited protection. That’s where a 10ft expandable container house changes the game. This innovative structure provides a sturdy, portable, and customizable solution for your sanitation needs. Let’s dive into how you can transform this compact unit into a fully functional outdoor toilet.
Why Choose a 10ft Expandable Container House?
Unlike flimsy portable toilets or permanent constructions, expandable container houses combine strength with flexibility. Made from corrosion-resistant steel, they withstand harsh weather while remaining lightweight enough for transport. The expandable feature means you can double the floor space in minutes—perfect for fitting a toilet, sink, and storage area. Plus, their modular design allows for quick installation without complex foundations. 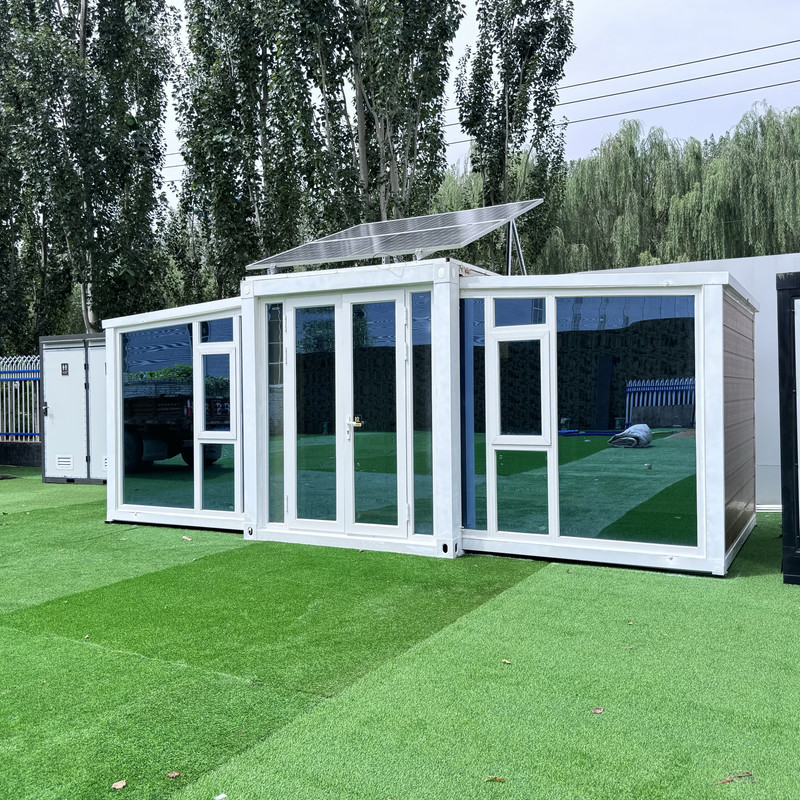
Step-by-Step Guide to Building Your Outdoor Toilet
1. Site Preparation
Start by selecting a level, well-drained spot away from water sources. Clear debris and ensure the ground is compact. For added stability, lay a gravel or concrete base. This prevents sinking and simplifies plumbing connections later.
2. Delivery and Expansion
Once delivered, position the container house using a forklift or crane. Unlock the expansion mechanism—most models slide open like an accordion—to reveal the full interior space. Watch how effortless this process is in this video:
3. Plumbing and Ventilation Setup
Install a composting or septic toilet system based on your needs. For off-grid use, composting toilets are eco-friendly and low-maintenance. Connect ventilation pipes to the roof to eliminate odors, and add a small window or solar-powered exhaust fan for airflow. 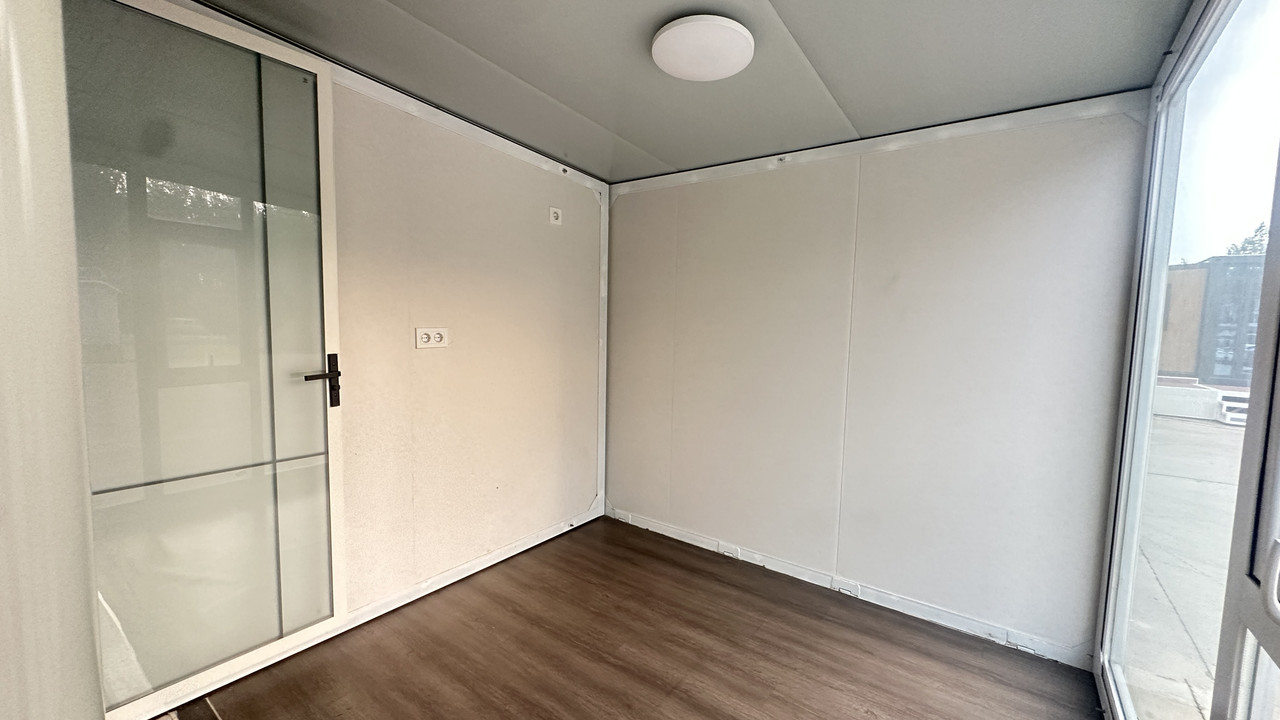
4. Interior Finishing Touches
Line the walls with waterproof panels (e.g., PVC or fiberglass) for easy cleaning. Add a handwashing station with a water tank and faucet. For lighting, use LED strips powered by solar panels. Don’t forget storage shelves for toilet paper and cleaning supplies. 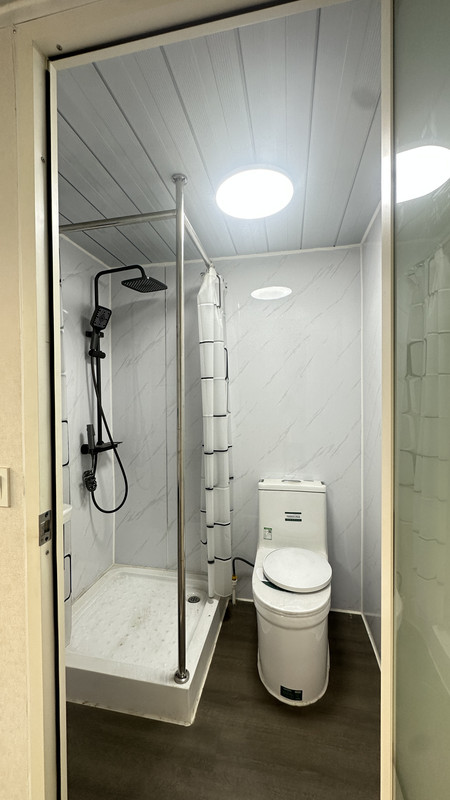
Key Benefits of This Approach
- Portability: Move the unit between properties or events effortlessly.
- Weather Resistance: Steel construction prevents leaks, rust, and pest infestations.
- Cost-Effective: Cheaper than permanent builds, with minimal maintenance.
- Eco-Friendly: Solar options and composting systems reduce environmental impact.
See real-world applications in this video:
Design Tips for Maximum Comfort
Personalize your outdoor toilet with these ideas: Paint the exterior to blend with your landscape. Add a small porch for shoe removal. Install motion-sensor lights for nighttime safety. For colder climates, insulate the walls and include a propane heater. 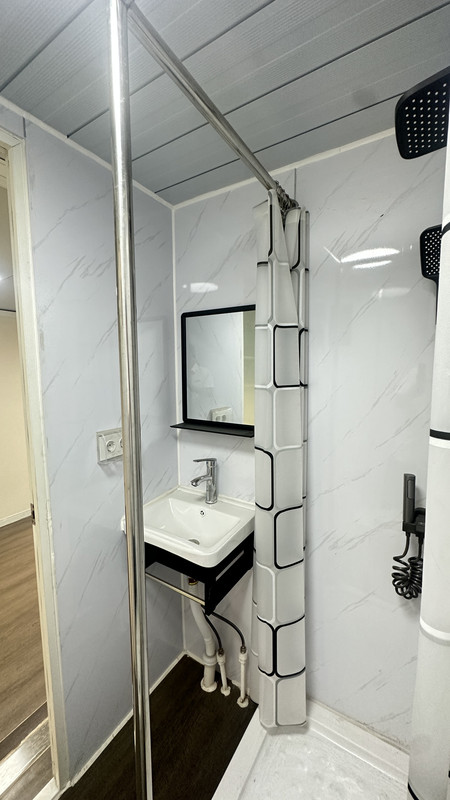
Maintenance and Longevity
Keep your container toilet in top shape with simple routines: Clean surfaces weekly with mild detergent. Inspect seals and hinges quarterly. Empty composting toilets every 3–6 months. With proper care, these units last 15+ years—far longer than wooden alternatives. 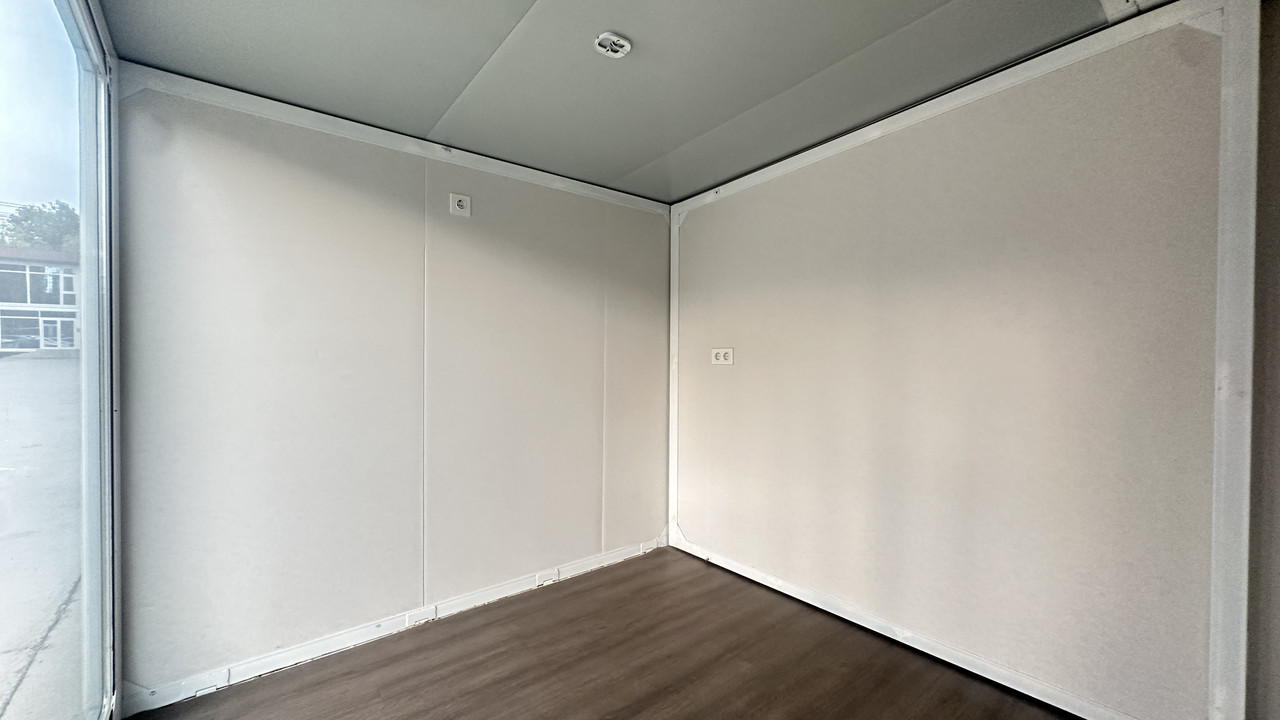
Final Thoughts
Building an outdoor toilet with a 10ft expandable container house is a smart, sustainable investment. It solves sanitation challenges in remote areas, event spaces, or backyard cabins without sacrificing comfort or durability. Ready to start? Choose a reputable supplier, customize your unit, and enjoy a hassle-free solution that stands the test of time.